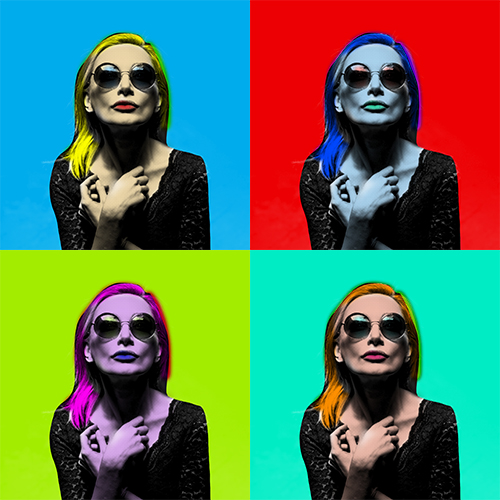
Pop Art Effects
Download this image from UnSplash

- Use a Black & White image
- Crop Tool > click the 'ratio' drop-down in the Option Bar > Set to "Square". Delete Cropped Pixels
- Copy the original layer
- Filter > Filter Gallery > Sketch > Halftone Pattern
- Use a large enough Dot size to see it, and just enough Contrast so that the Dots are not lost
- On a new Blank layer > Blend Mode Multiply
- Pick Colors and paint them in (red lips, yellow hair, skin tone)
- Use the Regular Lasso and drag around the figure
- Click the Mask icon (it's OK if the selection is irregular and hard-edged)
- Place a Bright Blue Color Fill layer under this layer
- Select All Layers > Command E (Merge Visible)
- Menu Bar > Canvas Size > Click upper-right corner > Relative > 100%
- Move Tool, Hold Option and Drag to make 3 copies
- Add Hue/Saturation adjustment layers to each layer (clipping each) and Change the Hue (your choice)
- Menu Bar > Image Size > 2400 pixels (height & width)
- Save as lastname_e6.jpg (Upload to Canvas)